
How to photograph the Northern Lights, according to an expert
The next 12 months are expected to bring some of the brightest aurora displays in over a decade, so we asked a professional travel photographer for their top tips on where, when and how to capture them.
Experiencing the Northern Lights in all their majesty is a dream for most travellers. Caused by solar-charged particles reacting with the Earth’s atmosphere, the mostly green dancing lights of this natural phenomenon are often spectacular. Seeing auroras is a thrill in itself, but getting a great photo might just be the crowning glory. Given their ethereality, this takes patience, the right kit and a fair bit of forward planning. And, with 2024 expected to bring some of the brightest Northern Lights displays in over 20 years, thanks to the approaching ‘solar maximum’ (a peak in the Sun’s activity), there’s never been a better time to try to capture them.
When and where to travel
In the Northern Hemisphere, the Aurora Borealis is often stronger around the autumn and spring equinoxes in late September and April. From November to January, longer nights mean more hours of darkness and an increased chance of sightings — but bear in mind that inclement, wintry Northern Hemisphere skies might obscure the view. You should also aim to avoid any periods of full, bright moonlight, which will diminish any light shows.
Displays do occur in the UK and Ireland (recently more so because of the period of high solar activity we’re currently in) but across sparsely populated parts of Alaska, Canada, the Nordic countries and inside the Arctic Circle, the lack of light pollution and closer proximity to the north magnetic pole combine to intensify these mesmerising bursts of light.
Although auroras are never guaranteed, Norway is one of the best places to see them, with the Lofoten archipelago, Tromsø and Kirkenes all picturesque, accessible and perfectly positioned in the far north. Cruise ships also sail along the Norwegian coastline, offering even darker viewing conditions. Be warned, though — while ships often provide a more comfortable experience, it’s harder to control framing and focus while on a moving vessel.

Iceland, with its spectacular waterfalls, geothermal activity and glaciers, is another of the most popular short-haul adventure destinations for Europeans — and superb for aurora chasing, too. Darkness is key, so if staying in Reykjavík, book a night tour away from the glare of the city. Better still, opt for a more remote location like Hotel Rangá, on the south coast, or the westerly Snaefellsnes Peninsula.
Starkly beautiful Greenland, inside the Arctic Circle, is another option. Harder to get to than Iceland and therefore less crowded, its rural landscapes and remoteness make it a special destination for photographers seeking adventure.
Location is everything, so aim to stay in a good spot and for long enough to maximise the photographic opportunities. And don’t forget that where you stay can also become part of the frame. Glass domes, ice hotels and tree-top accommodations are great photographic subjects and place you close to the action. At the Aurora Sky Station in Sweden’s Abisko National Park, you can gaze at the heavens on your way to the observation tower from an open-air chairlift, then use the structural shapes in your compositions. Similarly, mountain ranges like the snowy sawtooth topography of Spitsbergen provide dramatic backdrops.
The north of Finland has a number of winter sports activity centres that double as dark sky reserves — situated in areas of wilderness, these are perfect for proximity when aurora alerts start pinging.
(6 places to see the Northern Lights in Europe.)
How to travel safely and smartly
Waiting for the lights can often be a long, cold affair, as they usually occur well into the small hours, so ensure you bundle up and think about travelling with others for safety. Keep extra camera batteries or your phone warm in an interior clothing pocket, too — below-zero temperatures will zap them of energy. A good pair of photography gloves ensures you can still grapple with the dials and buttons while keeping your fingertips from freezing.
Pack a tripod for stability
Even if you’re heading to a remote area and need to travel light, one thing you mustn’t leave behind is a tripod. Stability is everything when photographing the night sky because the shutter needs to be kept open to let light in — trying to rest your camera on a snowy ledge just won’t cut it. A carbon fibre or other lightweight but sturdy tripod is essential, along with a remote shutter-release cable to avoid camera shake. Failing that, use the timer and stand still — moving around will make the ground shift, even if it’s imperceptible to you, resulting in a blurry shot.

Use a wide-angle lens
A wide-angle lens is recommended to capture the enormity of the sky— at times of high intensity, the lights will dance around, even flaring into corona, fringed with purples, pinks, blues and reds. But a very wide angle might also pick up unwanted subjects, therefore watch out for distracting vehicle headlights in more built-up areas, or other travellers. Head torches are invaluable for safety in the darkness — get one with a red-light option to maintain your night vision — but be mindful of fellow photographers.
Focus on composition
Strong composition can really lift an image. Look for a tree, body of water or an interesting structure, like a brightly coloured timber-framed house, choosing one that’s subtly lit so that it doesn’t become over-exposed. Alternatively, seek out a strong horizon for background interest, such as a hill or mountain range, or get your companion to stand still for a dramatic silhouette. Consider where to place your focal point, perhaps using the rule of thirds, and don’t be afraid to shoot vertically to include as much of the aurora action as possible.
Camera settings
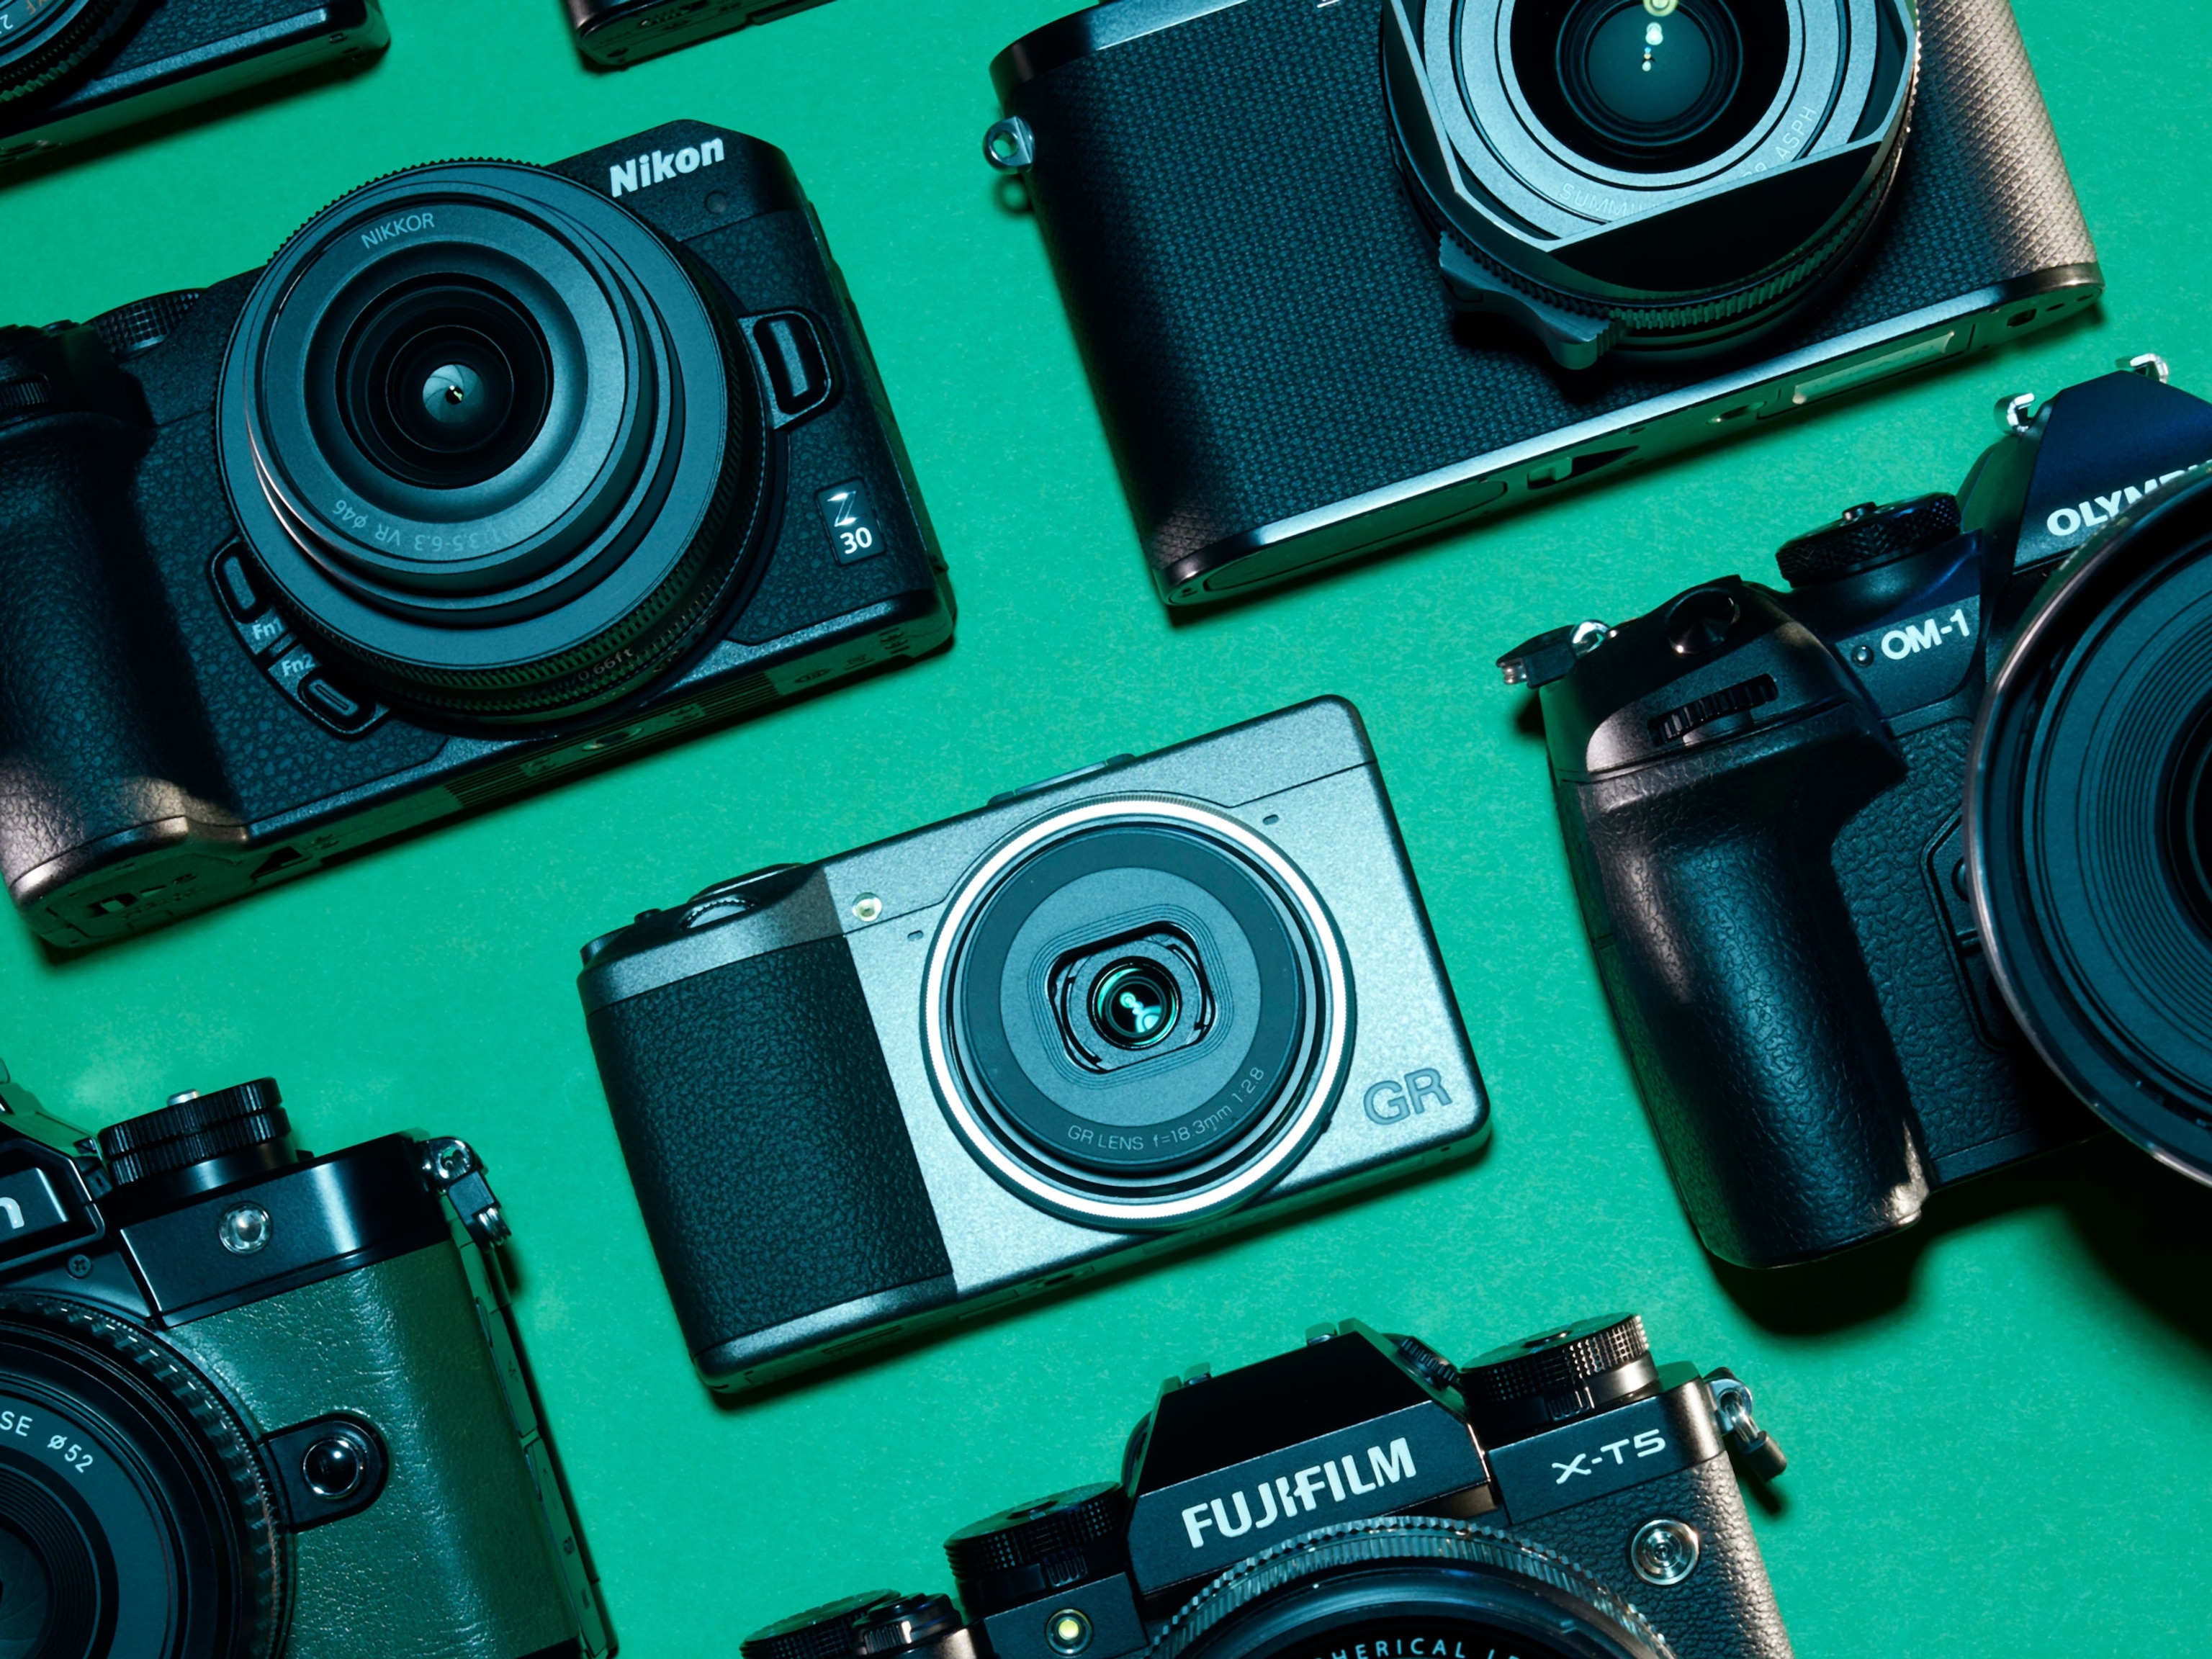
In addition to using a wide-angle lens and stabilisation, it helps to have a low-light capable lens, with an aperture or F-stop of 4.0 or lower. This means you won’t have to whack the ISO up too high, as this will add noise to your image. Each camera is different, so do some night sky test shots before you travel. Shoot in RAW for extra detail.
Manual settings mean you can control the focus and exposure — keep the shutter open for too long and any stars will become blobs, while a very short exposure will be too dark. It’s a good idea to take a number of varied exposures between five and 30 seconds, checking and adjusting your aperture, ISO and shutter speed according to the strength of the auroras. Don’t forget to switch to manual focus with the lens fixed on infinity, since you’re aiming at the sky and into the far distance.
Using a phone
With recent technological advancements, the unthinkable has happened, and pretty decent aurora images can now be shot on most newer Apple and Android models. Just like using a camera, a phone needs to be held still long enough for light to hit the sensor. A tripod is recommended, alongside a remote, Bluetooth release, or using the phone’s inbuilt timer. Turn off any flash, switch to night mode or use the manual settings, if you have them, to adjust the exposure and shoot in RAW. Aurora alert apps, such as hello aurora, help predict when there’s going to be a strong display, while others can process your shots, saving you the bother of editing or stacking shots for the perfect image.


You May Also Like


Go Further
Animals
- Orangutan seen using plants to heal wound for first timeOrangutan seen using plants to heal wound for first time
- What La Palma's 'lava tubes' tell us about life on other planetsWhat La Palma's 'lava tubes' tell us about life on other planets
- This fungus turns cicadas into zombies who procreate—then dieThis fungus turns cicadas into zombies who procreate—then die
- How can we protect grizzlies from their biggest threat—trains?How can we protect grizzlies from their biggest threat—trains?
Environment
- What La Palma's 'lava tubes' tell us about life on other planetsWhat La Palma's 'lava tubes' tell us about life on other planets
- How fungi form ‘fairy rings’ and inspire superstitionsHow fungi form ‘fairy rings’ and inspire superstitions
- Your favorite foods may not taste the same in the future. Here's why.Your favorite foods may not taste the same in the future. Here's why.
- Are the Great Lakes the key to solving America’s emissions conundrum?Are the Great Lakes the key to solving America’s emissions conundrum?
- The world’s historic sites face climate change. Can Petra lead the way?The world’s historic sites face climate change. Can Petra lead the way?
History & Culture
- Meet the ruthless king who unified the Kingdom of Hawai'iMeet the ruthless king who unified the Kingdom of Hawai'i
- Hawaii's Lei Day is about so much more than flowersHawaii's Lei Day is about so much more than flowers
- When treasure hunters find artifacts, who gets to keep them?When treasure hunters find artifacts, who gets to keep them?
Science
- Why ovaries are so crucial to women’s health and longevityWhy ovaries are so crucial to women’s health and longevity
- Orangutan seen using plants to heal wound for first timeOrangutan seen using plants to heal wound for first time
Travel
- 5 of Uganda’s most magnificent national parks
- Paid Content
5 of Uganda’s most magnificent national parks - On this Croatian peninsula, traditions are securing locals' futuresOn this Croatian peninsula, traditions are securing locals' futures
- Are Italy's 'problem bears' a danger to travellers?Are Italy's 'problem bears' a danger to travellers?
